Fixing a Leaking GE Washing Machine
We have a pretty standard GE Washing Machine. Looks just like this one (which is just a screen grab off the Internet, and not actually our machine!):
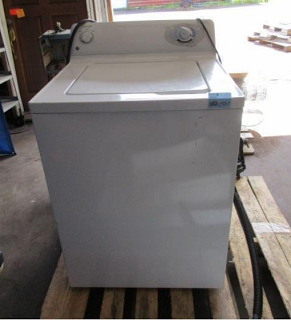
Our model is a WHDSR109J8WW, but honestly they're all very alike.
This washing machine had recently started leaking, and I thought it might be the end for it. But in the spirit of experimentation, I figured I'd try fixing it.
To my knowledge, these machines are well built, and unlikely to corrode. If there were to be a leak, it would likely be in the water inlets (the two hoses on the back attached to your house water supply) or in the water pump/drain system (the larger pipe at the back that attaches to your slop sink or waste-water system). Aside from the pump, these pieces are *very* repairable, and usually require parts that can be bought for several dollars at your local hardware or plumbing supply store.
If the leak is coming from the drum, there's really no point repairing the washing machine. It's just too much work, and the parts are probably quite expensive.
Moving the machine.
Plug the machine out. I'm not kidding. This thing has 240V of electricity, which is double your usual household supply. If you touch the wrong wire you will get a very unpleasant jolt.
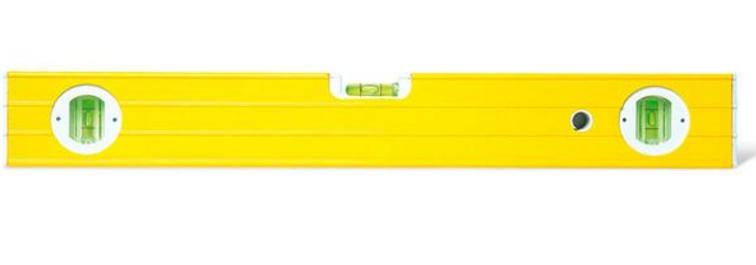
Hopefully your machine has extendable plastic hoses, because you're going to need to pull it out from the wall and stand it somewhere where it can still run while you have access to the back of it. You'll need no more than a foot or two of extra space. Pull it out *carefully*. You might need help. Make sure it's standing upright, and use a level, if possible:
The first thing to do is remove the front panel. You'll need something like a putty knife, which you're going to *carefully* slide between the top of the washing machine and the front panel. 
Be forceful, but not aggressive, and don't scratch the panel. It will (or should) pop out.
Now have a look around. See can you find the source of the leak. Don't detach anything, don't yank anything - just look around.
In my case, NOTHING SEEMED TO BE LEAKING. The pipes and hoses were clean and dry; the drum looked sound, and the pump was dry.

This was a conundrum. What was causing the leak?
In the absence of an easy solution, I turned to the internet and did several hours research.

In the end, one silly solution presented itself:
The washing machine detects the amount of water in the drum using a pressure gauge. You'll see a small box-like chamber attached to the drum, from which a very narrow hose runs. If you were to follow the hose, you'd find it goes up to the load-size selector switch on the control panel. This hose can fill with lint, and when this happens the pressure gauge fails. When the pressure gauge fails, the machine doesn't know when to stop filling the drum with water, and the machine overflows.
All you need to do is clean out this hose.
Remove the top panel. There are screws on the back. After you've removed these, slide the panel to one side and lift it out. You'll see the other end of the hose attached to the load-size selector on the left. The hose is easily worked off the selector and the pressure box on the drum. Remembering exactly how it ran, remove it and use whatever you have at hand to clean the lint and gunk out of it. Once you're satisfied that the hose is completely clean, run it back through the various conduits it was in and reattach it at both ends.
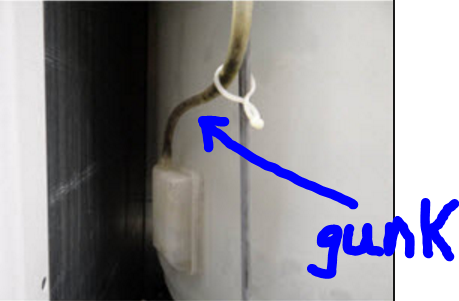
 Note: if this little hose is NOT blocked or gunked up, then the leak is probably coming from somewhere else. I can't help you if that's the case.
Now reassemble everything, plug the machine back in, and try it out. Select a rinse, being sure to select the largest load possible.
If everything works as planned, your leak will have disappeared.
Put the washing machine back into its place. You're done.
Labels: Brian Ó Broin, brianeanna, fix, GE, leak, overflow, pressure, repair, washing machine
posted by sacsanua at 7:00 AM
2 comments

